App installation and configuration
The app installation and certain initial settings have to be configured for the correct functioning of the mPOS application.
Installing the app
Go to the app center.
Download the mPOS application on your device.
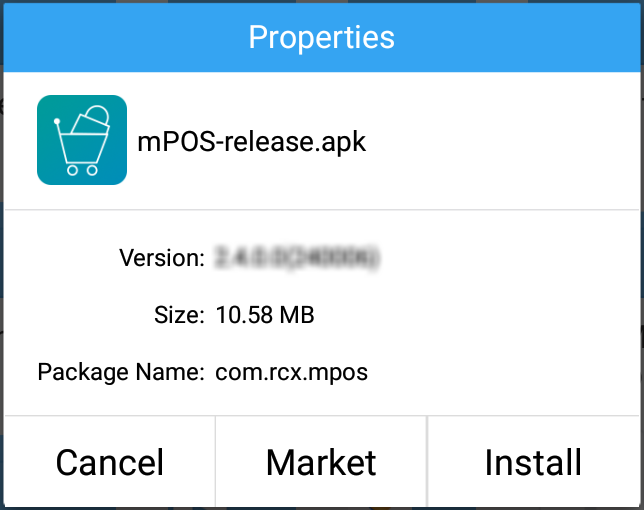
Tap on the downloaded application .apk file on your device.
You will see a pop-up message for installing the app.
Tap Install to begin the installation process.
On the subsequent screen, tap Install to install the app as well as to provide the necessary permissions for its functioning.
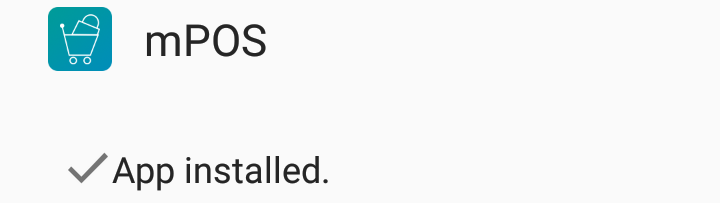
After the application has been successfully installed, tap Open to launch the application.
Configuring the app
When launching the application for the first time, you will need to setup the configuration settings.
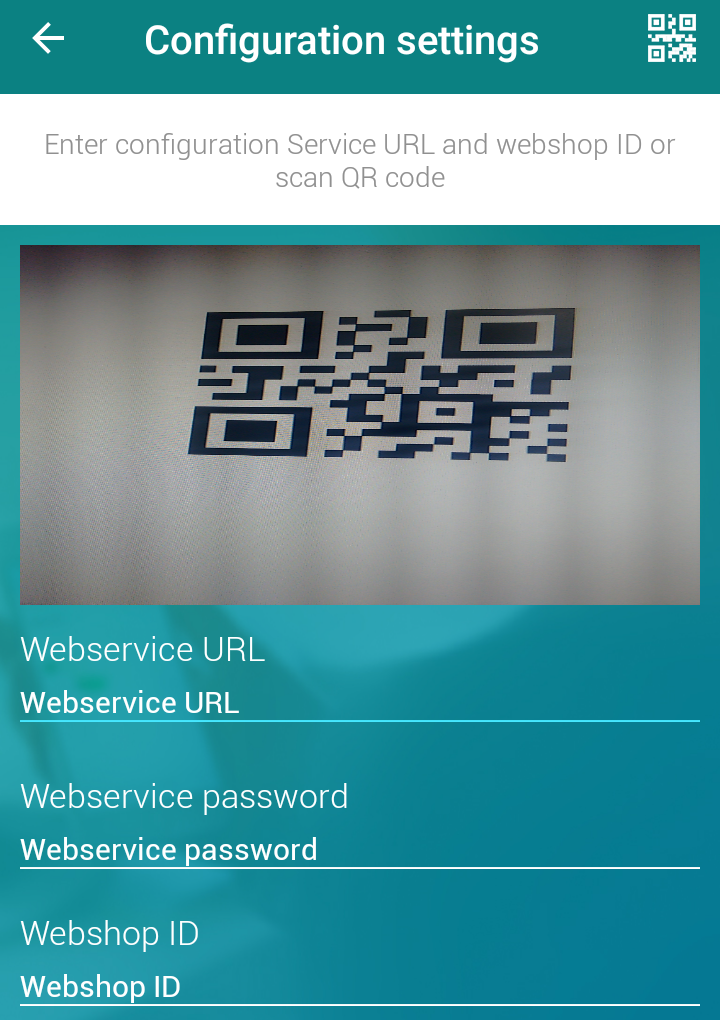 |
It is possible to enter the configuration settings in either of the two ways:
1. QR code scan.
To scan the QR code, point the device camera at the QR code of the configuration settings. The Webservice URL and Webshop ID will automatically be filled in.
2. Manual entry.
Tap  in the upper-right corner to deactivate scanning. As a result, it will be possible to manually enter the configuration settings.
Note
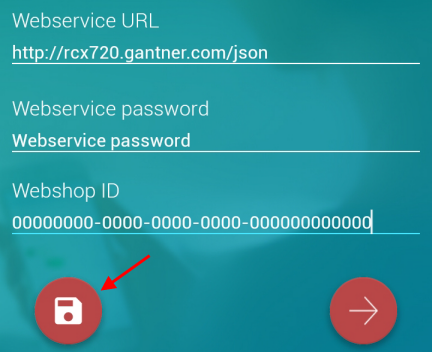
In case your API is additionally protected by a password, you will need to enter the Webservice password manually on the Configuration settings screen.
Tap  to apply the configuration settings.
Save configuration
When entering the configurations for the first time, you can choose to save it and apply later. To save the configurations, tap  .
.
 |
Configuring printing
Tap
 in the upper-left corner of the home screen to access the app menu.
Tap Settings in the app menu. Enter the PIN to access the Settings section.
Go to the tab Printer > Printing configuration.
Define a printing method for each of the five printing instances (visualised as tabs).
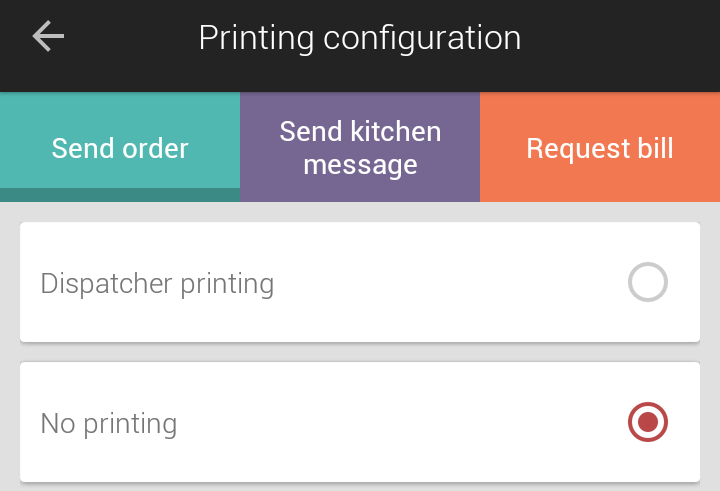
For configuring the printing instances, see the description of the Printing configuration in the section Printer.
Tap OK to save the changes made.